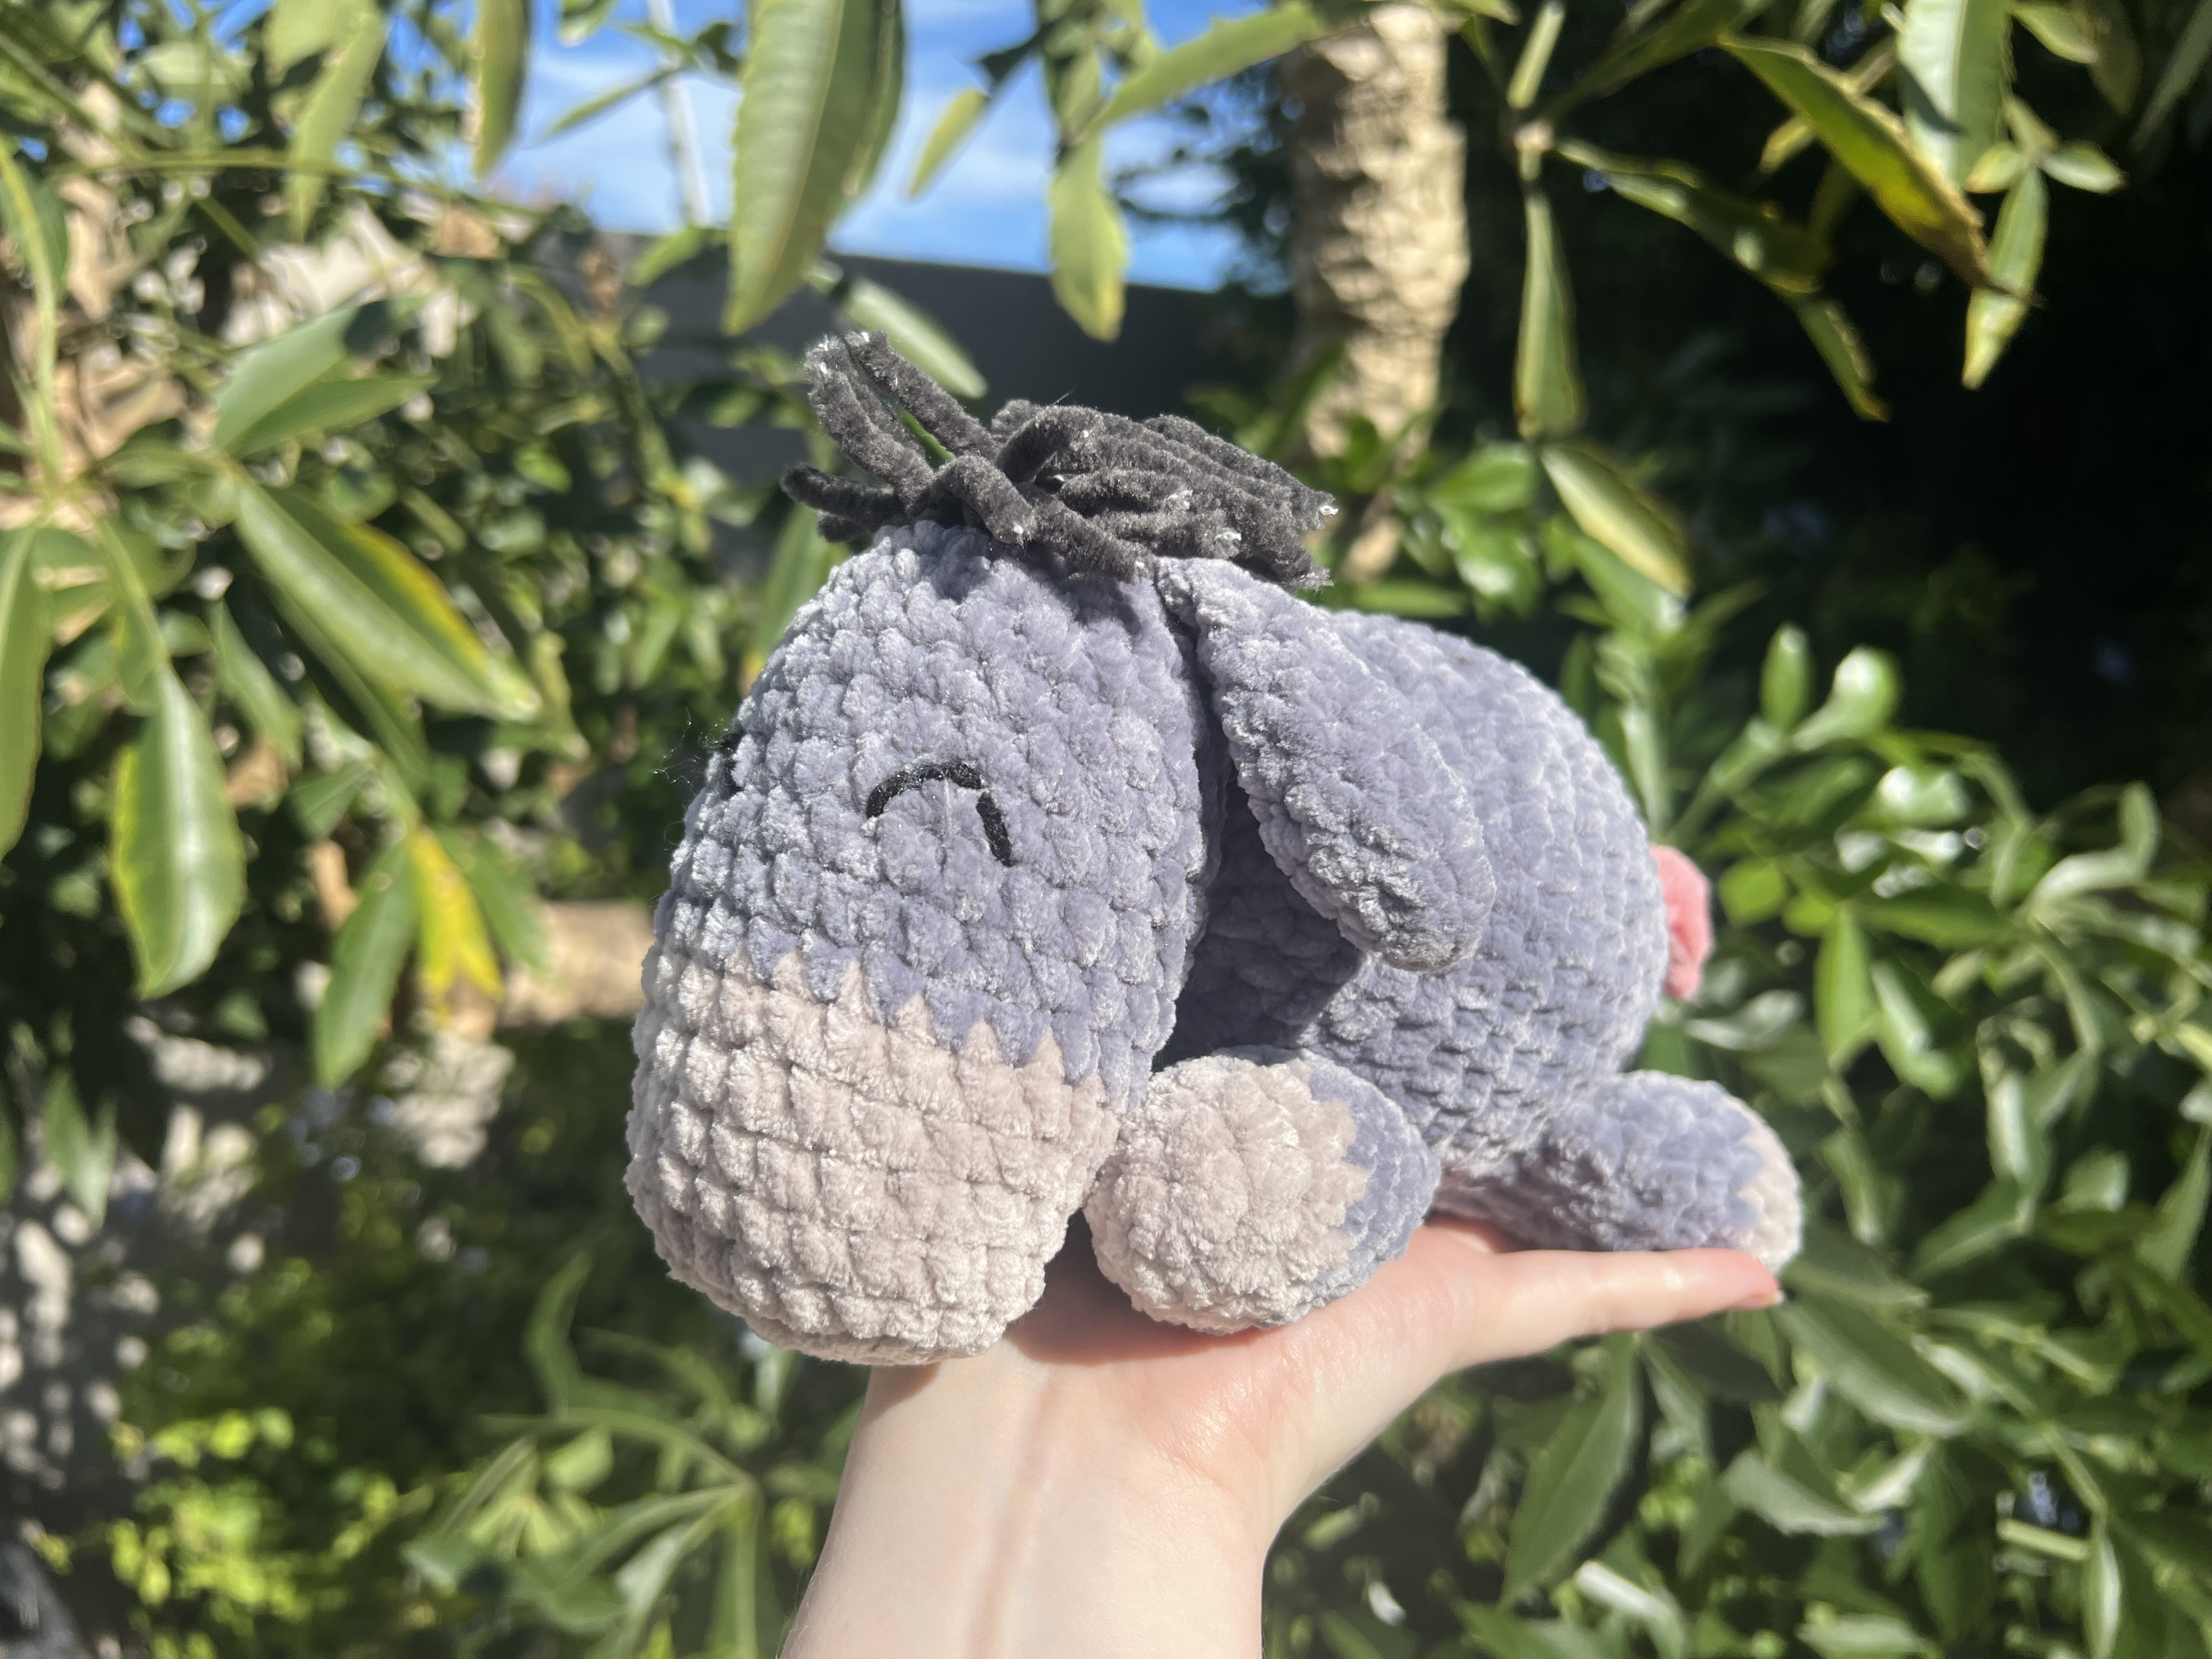
Daisy is a lazy donkey who loves to take naps and spend time in the sun. This is a low sew pattern, where you crochet everything in as you go and just sew the head to the body as well as any extras like a bow.
I hope you enjoy this free version of Daisy the Donkey. There is a formatted PDF version available for purchase on Ravelry.
Materials
- Yarn in two contrasting colours (main body + muzzle)
- Crochet hook to match yarn size (I used one size down)
- Stitch marker
- Stuffing
- Yarn needle
- Scissors
Abbreviations
- MR = Magic Ring
- sc = single crochet
- inc = increase (2 sc in one stitch)
- dec = decrease (sc 2 together)
- ch = chain
- dc = double crochet
- (...) = repeat instructions in brackets
- xN = repeat N times
Pattern
Ears (make 2)
Using main colour
1) 3 sc in MR (3)
2) inc in each st (6)
3) (sc, inc) x3 (9)
4–8) sc around (9)
9) (sc, dec) x3 (6)
Fold ear flat, sc through both sides(3). Fasten off
Legs (make 4)
Start with muzzle colour
1) 6 sc in MR (6)
2) inc in each st (12)
3) sc around (12)
Change colour to main colour
4–7) sc around (12)
8) (sc, dec) x4 (8)
Only stuff the bottom of the leg (about ¼ to ½ ) Fold the top and sc through both sides (4) Cut and finish off
Head
Start with muzzle colour
1) ch 6
2) inc, 3 sc, 5 sc in last st, 3 sc, 3 sc in first st (16)
3) inc, 5 sc, inc, sc, inc, 5 sc, inc, sc (20)
4–5) sc around (20)
6) inc, 6 sc, inc, 2 sc, inc, 6 sc, inc, 2 sc (24)
7) sc around (24)
Change colour to main colour
8–14) sc around (24 each rnd)
15) (4 sc, dec) x6 (20)
If you are adding safely eyes, add them between row 12 and 13 with 3 visible stitches between them.
Otherwise embroider them in the same place.
Start stuffing
16) (3 sc, dec) x6 (16)
17) 2 sc, attach ear with 3 sc, 4 sc, attach 2nd ear with 3 sc, 4 sc (16)
18) (2 sc, dec) x6 (12)
Finish stuffing
19) (sc, dec) x6 (8)
Continue from round 19 and continue to decrease so that you have 6 sc in your row.
Fasten off by closing the opening, weave in ends.
Tail
Using main colour
1) Chain 6
2) turn, Sc in each chain (5)
Finish off, you can make the tail longer by starting with a longer chain.
Body
Using main colour
1) 6 sc in MR (6)
2) inc in each st (12)
3) (sc, inc) x6 (18)
4) (2 sc, inc) x6 (24)
5) (3 sc, inc) x6 (30)
6) 15 sc, attach tail with 2 sc, 13 sc (30)
7) sc around (30)
8) (4 sc, inc) x6 (36)
9) 33 sc, attach leg with 3 sc (36)
10) sc through leg, 4 sc, 4 sc through leg, 27 sc to end (36)
11) (5 sc, inc) x6 (42)
12–13) sc around (42 each rnd)
14) 40 sc, 2 sc through leg (42)
15) 2 sc through leg , 4 sc, 4 sc through leg , 32 sc to end (42)
16) (4 sc, dec) x6 (36)
17) sc around (36)
Start stuffing
18) (3 sc, dec) x6 (30)
19) sc around (30)
20) (2 sc, dec) x6 (24)
21) (sc, dec) x6 (18)
Finish stuffing
22) dec x6 (12)
Fasten off by closing the opening, leave long tail for sewing.
Assembly
Sew head onto body. For a sleepy look, tilt it slightly to the side.
Add hair to top of head and end of tail:
Cut 12 strands (8 - 10 cm each), fold in half.
Insert folded loop into a stitch, pull ends through loop to secure (latch-hook method).
Place 3 rows with 4 strands each on head.
For tail, use ~3 strands.
Trim as desired.
Optional
Bow
1) Chain 8, turn
2) Dc in each stitch, ch2 + turn
3) Dc in each stitch, ch2 + turn
4) Dc in each stitch
Finish off and leave a long tail.
Weave in the long tail to around the middle of the last row. Fold the rectangle in the middle to form the bow shape. Use the long tail to wrap around the middle to keep it pinched and tight.
You can keep using this tail to attach the bow to the end of the tail or just above the ear.
Please Note: Do not copy, sell or distribute this
pattern.
If you post your finished project, I would love to see
it! Please tag me @lemonleigh_crochet